Pages

Wednesday, 30 April 2014

Everybody needs good neighbours

I had a surprise visit from one of my neighbours just before dinner time yesterday.  These 'sometimes' neighbours are a lovely older couple who visit here every two months or so for about a week at a time, usually when it gets too hot or cold or boring for them at their home in Toowoomba.   When they're here we have a quick chat as we're coming and going or a cuppa in the afternoon so that they can catch up on the goss of what's been going on around here.  I often take them a jar of jam or some biccies or other things I've recently baked or cooked.  It reminds me of times gone past of dropping in on my grandparents.  Anyway, I digress.  Yesterday, they gave me a cookbook.  Not just any cookbook, rather an Australian classic - Stephanie Alexander's 'The Cook's Companion'.  They saw it a second-hand bookshop and thought I'd like it since I love to cook.  You can imagine how surprised and grateful I was.

Later on when sharing this story, a friend of mine mentioned her love for this book and to definitely look up the pork with prunes.  Now if you aren't already aware of the size of this cookbook, you may be surprised to know that this recipe doesn't appear until pages 566 - 567, and there are more than 200 pages of recipes after that.  It'll take me quite some time to get through this book, so I need your help.  If you have a copy of Stephanie Alexander's book please let me know what your favourite is and what I should be cooking next!

Pork with prunes
12 large prunes, pitted
1 1/2 cups dry white wine
2 pork fillets
flour, seasoned with salt and pepper
olive oil
butter
1 tablespoon redcurrant helly
4 tablespoons thick cream
juice of 1 lemon and zest
  1. Soak prunes in wine overnight.
  2. Cut each pork fillet on the diagonal into 6 pieces.  Flatten each piece a little with the palm of you hand, then dust each piece with seasoned flour.
  3. Strain prunes and reserve wine to make the sauce.
  4. Heat a little oil and butter in a heavy-based frying pan until butter foams. Cook pork pieces in batches until browned over moderated heat, 3 minutes per side.  Remove cooked pork and cover with foil to keep warm whilst doing the next batch.
  5. Wipe out pan with kitchen paper and reheat.  Add wine and allow it to bubble fiercely.
  6. Add redcurrant jelly and cream.  Then stir to blend.
  7. Return meat to pan and add prunes.  Lower heat a little.  Turn meat in sauce as it reduces.
  8. Add a few drops of lemon juice and adjust seasoning as necessary.  The redcurrant jelly can make it quite sweet, so make sure you taste the sauce and keep adjusting with lemon juice, salt etc.  Add some lemon zest too for a little more zing!
  9. Keep cooking until the sauce turns toffee-coloured and becomes quite thick.  If too thin, remove meat and boil more fiercely.  If too think, add a few drops of water or an extra tablespoon of wine.
  10. Spoon pork medallions onto plates, top with prunes and spoon over sauce.  Serve with green beans, crispy potatos and a beautiful glass of wine.

Friday, 25 April 2014

Chewy or crunchy?

Today is ANZAC Day.  A day when Australians and New Zealanders commemorate the sacrifice of the countless men and women who have fought and continue to fight to protect the freedom of our lands.  Across both countries the numbers of people attending Dawn Services and ANZAC Day Marches continues to grow, as we all come to realise just how horrific a sacrifice that those who went before us have made. 

There are a lot of traditions that go along with ANZAC Day, including playing Two-up, which is illegal to play on any other day of the year.  In this game the 'Spinner' places two coins (pennies if you can find them) on a wooden paddle.  The coins are tossed in the air and punters place bets on how they will land (heads, tails or odds).  There are many variations on how you win, depending on where you're playing - so check the local rules if you're having a go today!

Another tradition is ANZAC Biscuits.  These biscuits have long been associated with the Australian and New Zealand Army Corps (ANZAC).  The story goes that these biscuits were lovingly made at home and sent to the troops in the frontlines in Europe in World War 1.  They transported well and the ingredients don't spoil easily, not to mention how tasty they are.
http://www.anzacday.org.au/miscellaneous/bikkies.html

Whilst the main ingredients remain the same after almost 100 years, you'll find all sorts of variations these days, including the addition of lemon myrtle or macadamia nuts, as well as 'healthy' versions using almond meal not flour, coconut oil and apple juice instead of butter.  But seriously, don't mess with the original.  Usually the biggest point of contention is whether you like your ANZAC biscuits crunch or chewy.  For me it's chewy all the way.  If you like them crunchy, then cook them longer and leave them on the tray till fully cooled - it's as simple as that.  However you will find recipes for crunchy versions that say to increase the amount of golden syrup and/or use brown sugar instead. 

The recipe below is a tried, tested and much loved family recipe.  Happy cooking.  Lest we forget.

ANZAC Biscuits (makes approx 30)
1 cup rolled oats
3/4 cup dessicated coconut
1 cup self-raising flour
1 cup sugar

125g butter
1 - 2 tablespoons golden syrup
1 teaspoon bicarbonate soda
2 tablespoons boiling water
  1. Combine butter and syrup in a saucepan and melt over a low heat.
  2. Mix all the dry ingredients in a large bowl.
  3. Mix bicarb with boiling water, and stir into melted butter - it will froth up (see picture to the right)!
  4. Add frothy butter mixture to dry ingredients.  Combine well.
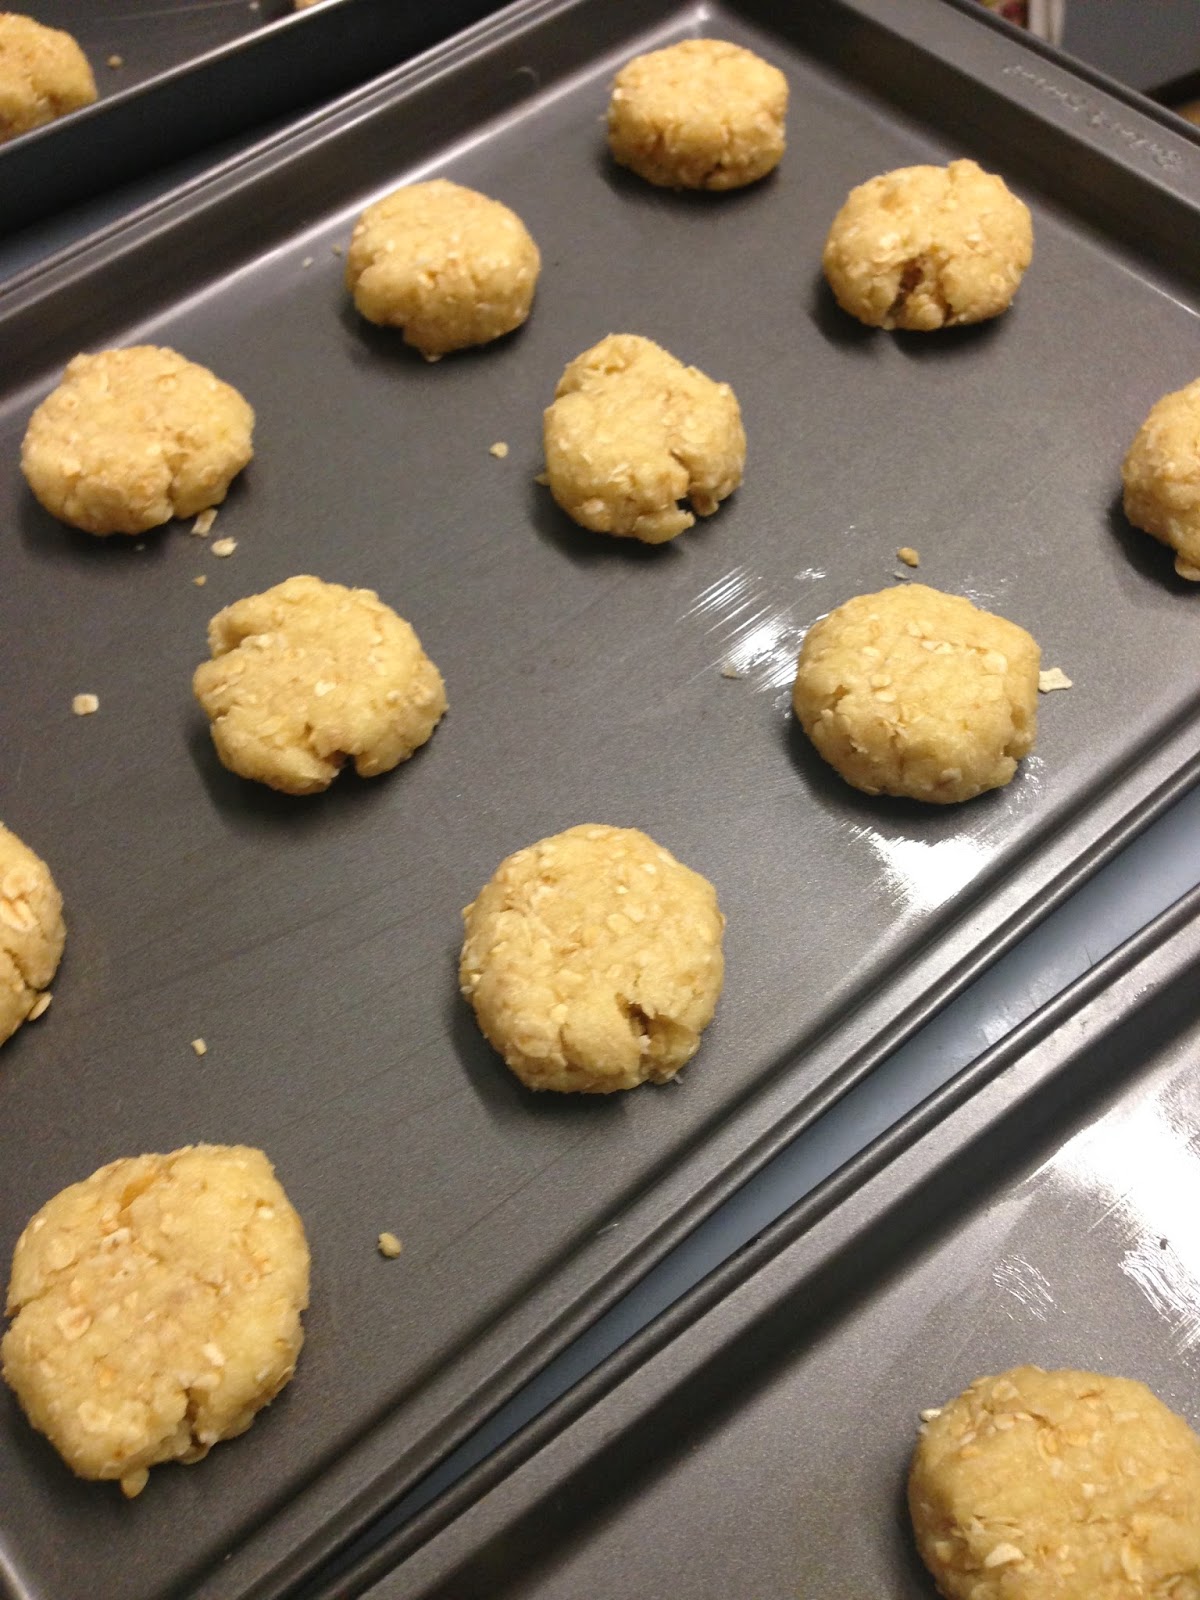
  5. Roll into balls and place onto greased oven trays.  They will spread as they cook, so leave some space between them.  Flatten each biscuit with the back of a fork.
  6. Bake at 150C for 15 - 20 minutes (depending on how you like to eat them).
  7. Loosen on trays while warm.  For chewy, leave them on the trays for about 5 minutes then move to wire racks to finish cooling.  For crunchy, leave them on the trays till cool.
Options
You can also make this into a slice.  Grease a lamington/slice tin and pour the mixture in.  Smooth the top and bake.


Thursday, 17 April 2014

Hop to it

Whilst contemplating my Easter Sunday menu for the whole family, a memory popped into my head of marshmallow bunny rabbits.  No, not the ones you buy coated in chocolate and individually wrapped in the supermarket.  Rather, the ones that people in 'the olden days' (ha!!) made.  So to google I went, to trawl through the many recipe variations.  A lot of these were from American websites and bloggers and all had corn syrup in them.  Which then lead me to try and find substitutes for corn syrup.  Many suggested that glucose syrup or golden syrup would work, but I wasn't so sure.   Eventually I found a couple of recipes that required no eggs, no candy thermometer and no corn syrup.

My next job was to find the bunny rabbit moulds.  This proved a lot easier than I expected, with a visit to my local homewares store.  There I happened to find the full range of D.Line bunny moulds - Big Daddy (750mL), Junior (125mL) and Baby (25mL).  The bonus is that these moulds are actually made in Australia and this is an Australian owned company.  It was difficult deciding on which ones to buy, but in the end I came home with 4 Juniors and 8 Babies.  Cleverly, the creators of these moulds have included four recipes on the packaging - Marshmallow Bunny, Easter Bunny Creams, Chocolate Apricot Bunnies and Jelly Bunnies.  I was pleased to see that their marshmallow recipe was pretty much the same as the one I'd finally settled on before heading to the shops, and so I actually used it instead.  In the end it was a very straight forward process, including filling all the moulds.

The recipe stated it would make about 750mL.  My mixture ended up filling all the bunny moulds I had, as well as a silicon Easter mould (small eggs and rabbit heads), which I got free at Woolworths this week, and there was still enough left to fill a small ramekin as well!  The final result was a beautiful smooth and silky marshmallow, which I'm pleased to say I've only eaten two of, so far!

Happy Easter!

Marshmallow Bunny
3 teaspoons gelatine
125mL hot water
60mL cold water
150g caster sugar
10mL vanilla essence (which I totally forgot to put in!) or other flavouring
Food colouring (if desired)
Dessicated coconut
  1. Place sugar and cold water into a large bowl (yes, use your big bowl!) and beat for 5 minutes with an electric mixer.
  2. When that time is almost up, sprinkle the gelatine over the hot water and stir briskly with a fork until dissolved.
  3. Whilst gelatine mixture is still hot, pour it into the sugar solution and beat on the highest speed for about 10 minutes (mixture should be very thick glossy white and hold a figure 8).
  4. Whilst the marshmallow is thickening, grease your moulds - just rub them with a little bit of oil and wipe most of it away with a paper towel.
  5. Add desired flavour (I forgot this step and they still taste yummy to me) and beat again.
  6. Pour into moulds and run a knife over the top to make a flat base.  Allow to set on the bench for at least an hour, then transfer to the fridge for 1 - 4 hours, depending on the size of the moulds you used.
  7. Spread a thin layer of coconut onto a large plate (this is where you'll be tipping the bunnies out shortly).
  8. When you're ready to tip them out, run the tip of a knife around the top edge of the mould and ease the marshmallow away from the sides.  Tip it over and 'encourage' it out, so that the base of the bunny lands on the coconut.
  9. Roll in coconut, or if you're going to decorate, then now's the time.  Use thin small paint brushes and tiny amounts of food colouring to paint the eyes, ears, nose etc.  Allow to dry, then roll the whole bunny in coconut.
  10. Place into an airtight container, lined with baking paper.  Refrigerate for 1 - 2 weeks (don't think they'll last that long!).
Notes
  1. To make the grass for the bunnies to sit on: put some dessicated coconut into a snap lock bag, add a few drops of green food colouring, seal and shake around.  Spread this onto your serving plate, then place the bunnies on top.
  2. To make coloured bunnies - add a drop or two of food colouring to the marshmallow mixture before pouring into moulds.  Then also roll in coconut of the same colour, if desired. 

Wednesday, 16 April 2014

GOOD OL' TOAST

Good morning all. I thought I would ease my way back into blogging by starting off easy with some good ol toast. Now, my fav is plain and simple butter on toast, but have been partial to some Vegemite or some lemon butter. Today I splurged on 4 pieces of toast and decided to go 4 ways. Butter, Strawberry Jam, Lemon Butter and Vegemite.
The recipe requires limited ingredients:

  • Bread (sliced into even pieces, you may use white, wholemeal, multigrain or any type of bread you wish).


  • Butter or Marg
  • Conserve of your choice
  • Vegemite
  • Lemon Butter (thanks Mum)


you will also need a toaster or griller

Step 1: Place bread into toaster and push the lever down, wait......
Step 2: Take the toast out of the toaster.
Step 3: Place on bread board and butter the piece of toast and spread whatever topping you want on it.
Step 4: Enjoy. (you may want a strong coffee to go with it (I ran out of milk)


Tuesday, 15 April 2014

Sweet, sweet chilli

I don't know about you, but sweet chilli sauce has to be about the best and most versatile sauce ever.  You can mix it with soy sauce, kecap manis and lime juice to make a wicked dipping sauce for spring rolls, dumplings or wontons.  You can drizzle it over pan-fried haloumi or add a good splash to your mince when you are making meatballs or hamburger patties or bolognese sauce.  I've even been known to add it to those big cheesy dips, you know the ones that are basically a heart-attack in a hollowed-out cob loaf, sooooo good!  There's a million things you can add it to and eat it with.  But have you ever thought about making your own?  If yes, then this is your lucky day. If no, then why not?  It's so easy and guess what, this is your lucky day!

There are many variations on the basic sweet chilli sauce recipe.  The best and most straight-forward version I've found is the one I picked up at The Spirit House Cooking School.  It's a fantastic balance of the spicy (chilli), sweet (sugar), sour (vinegar) and salty flavours. The recipe below is a tripled quantity version of theirs, so you have plenty for you and plenty to share.  If you just want to whip up a batch for dinner, then I'll leave you to divide everything by three.

Spirit House Sweet Chilli Sauce
3 cups white sugar
1.5 cups coconut vinegar (or rice vinegar if you can't get coconut vinegar)
1.5 cups water
6 large or 10 medium red chillies
6 cloves garlic
2 - 4 coriander root (optional)
1.5 teaspoons rock/sea salt
  1. In a large saucepan combine sugar, vinegar and water.  Bring to the boil, stirring occasionally.
  2. Whilst that is coming to the boil, slice chillies in half and deseed half of each chilli (unless you really want it to be HOT!).  Roughly chop the chillies.
  3. Peel and roughly chop the garlic.  Clean the coriander root.
  4. In a mortar and pestle pound the chilli, garlic, coriander root and salt, to a rough paste.  It will be quite juicy.
  5. Add the chilli paste and all the juice to the saucepan and continue to simmer over a medium heat for about 45 minutes, stirring occasionally.  
  6. You'll know it's getting close to being ready when it starts to become foamy on top.  At this point drizzle a bit of the sauce on a cold plate, wait for it to cool, then run your finger through it (and taste it!). The sauce on either side of the spot where your finger went should hold it's place.
  7. Remove from heat and allow to cool for 10 - 15 minutes. The sauce thickens as it cools.
  8. Pour into sterilised jars and seal. Or serve with whatever you're about to eat!
Notes
  1. I suggest chopping the chilli first, so that by the time you've washed your hands then dealt with the garlic and coriander root you have less chance of chilli still being all over your hands!
  2. If you cook it longer till it thickens more in the pan, then you've made sweet chilli jam, which is just as tasty!
  3. This recipe yields approximately 500mL of sauce.